Step 1:
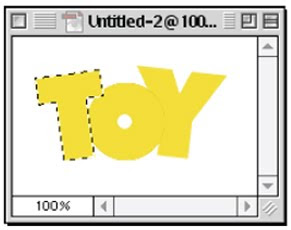
Create the object you want to stroke (in this case, I created some yellow text using the Type tool). I used the font Futura Extra Bold. I set Yellow as my foreground color, then I created each letter individually so each would appear on its own layer. Then, using Free Transform (found under the Edit menu) I rotated the letter T, then the letter Y.
Step 2:
Since I created type, I have to Render this type before applying a stroke (note: rendering converts your type from a special editable type layer, into a regular Photoshop layer). To stoke the object, go to the Layers palette, hold the Command key (PC: Control-key) then click once on the Layers name and the contents of that layer will become selected. Choose the color you want for your stroke from the Foreground color picker, then click OK (I selected a light blue).

Step 3:
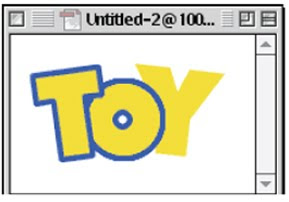
Go under the Edit menu, and choose stroke. When the Stroke dialog box appears, enter how wide (in pixels) that you want your stroke, then enter whether you want your stroke to appear inside your selected area, in the center, or outside your selected area.
Step 4:
When you click OK, your selection will be stroked with the foreground color. Deselect by pressing Command-D (PC: Control-D).

Step 5:
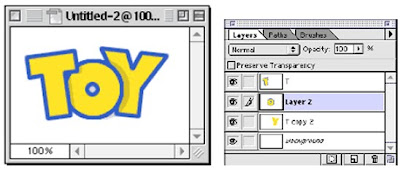
To complete the effect, I stroked the other two layers using the same technique. Then I went under the Layer menu, under Effects, and choose Drop Shadow. I lowered the opacity of the shadow to 20% and lowered the Blur amount to 2, and clicked OK.

No comments:
Post a Comment