Step 1:
Find an image that you want to make gloomy. For the first time through, its probably best to use this one and follow along. I've also sized it down considerably so the file sizes aren't too big.
Step 2:
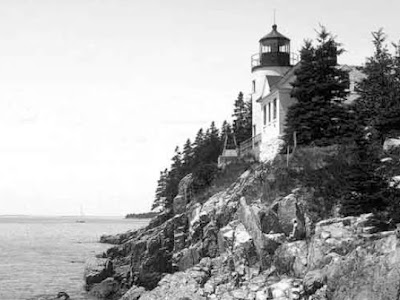
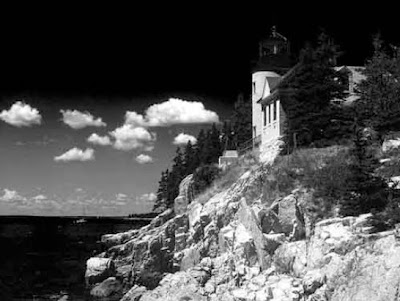
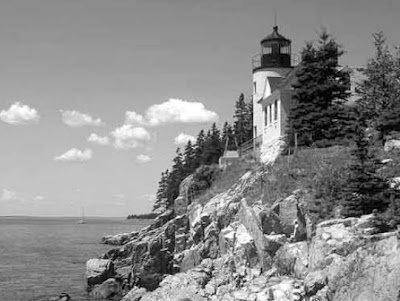
Now, our first step is going to be selecting the sky out from the landscape. This is probably the hardest part but one of the most important. So, I'll start by going to go into my channels palette and click thru the red, green, and blue channels to see what we've got. We're looking for something with good contrast between the sky and landscape.
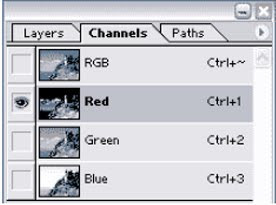
Channels Palette:
Red:
Green:
Blue:
Step 3:
Ok, by clicking on each channel I find that the blue channel offers me the best contrast for this picture so thats where we'll start. Select that channel and hit Ctrl + A to put a selection around the entire image. Now copy it, go back to your layers palette and create a new layer, and paste it into that layer. Your layers palette should look like this so far.
Step 4:
OK, now run a levels command (Ctrl + L) on the new channel. Drag the left slider over to the right until your picture looks something like mine. We're trying to increase the amount of contrast here and make the blacks blacker.
Step 5:
Now for a little manual labor. It can't all be automatic, sometimes we must work for it a little. So,grab your rectangular marquee and put a selection around the water like I have an fill it with black. Also, do the same for the lighthouse. These are areas that we can tell ahead of time will be problems if we try to use an automatic tool like the extract filter which we'll see next. Anyway, you should have something like mine - I've filled my selections with red so you can see what I've done.
Step 6:
Next, go to Filter->Extract. Select a 30 pixel brush and leave the other settings at their default. Draw around the edge for the trees and lighthouse, keeping about half of the brushes width on the part you want to keep and the other half around the sky. Then select the paint bucket (in the extract tool still) and fill the landscape area by clicking on it. You should have something like my picture here. Click OK when you're done.
Step 7:
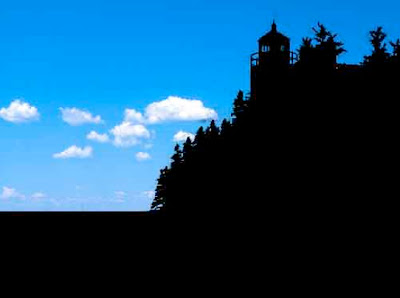
OK, now we have selected out our sky and we're almost there. Ctrl + click on the layer that you just extracted to select whats left. Then fill it with black so there is no white left. Don't deselect just yet though.
Step 8:
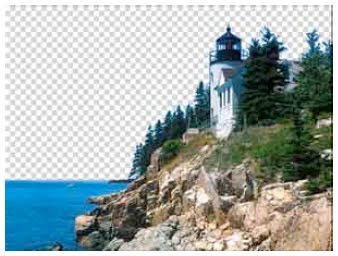
Now we have our mask. With the selection still active, hide your mask layer, select your image layer, hit Ctrl+Shift+I to select the inverse (the sky in this case) and hit delete. You should have something like this. (Note: I had to size this down so I could save it as a gif and show the transparency. The file would have been huge if I didn't)
Step 9:
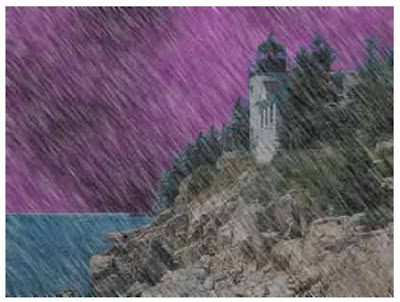
OK, now that we have our image we can start adding the gloominess. First, lets put a new layer below the lighthouse layer for our clouds. Every storm needs clouds right? Now select black for your foreground color and a dark blue or purple color for your background color. I used this color RGB(153:51:153). Then goto Filter->Render->Clouds. You should have something like this now.
Step 10:
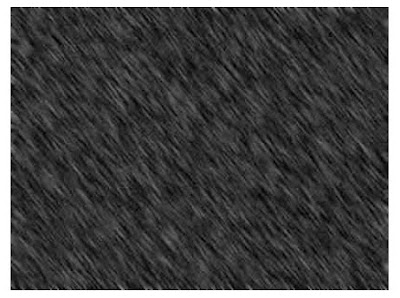
Now that we have clouds, its time to add rain. So create a new layer on top of all the others and fill it with black. Then goto Filter->Noise->Add Noise. For the amount use 37. Check Gaussian and monochromatic too. Now blur it slightly by going to Filter->Blur->Gaussian Blur and enter 0.5 pixels for the radius.
Step 11:
Next, hit Ctrl+L to bring up the Levels adjustment. Move your sliders so they look like mine below.
Step 12:
Finally, to make it look like driving rain we need to angle it a bit. Go to Filter->Blur->Motion Blur and enter in -53 for the angle and 15 for the distance. Feel free to customize these settings to get a different effect.
Step 13:
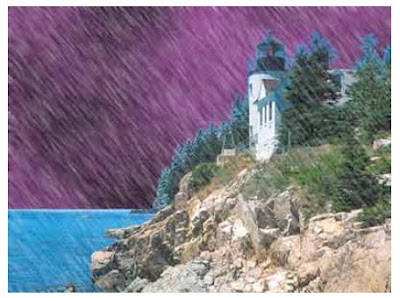
Now to finish off the rain, select the layer in the layers palette and change its blend mode to screen.
Step 14:
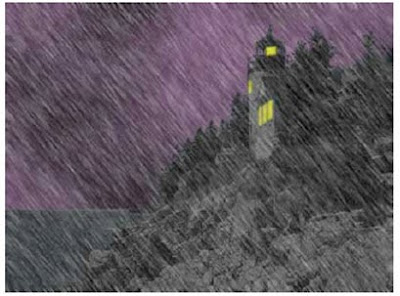
OK, that almost completes the effect but we have a few things to finish up with. First, if you notice the mountains and lighthouse are still way too bright. They still look as if it were a sunny day. Have no fear though, photoshop can take care of that one easily. Just select the landscape layer and hit Ctrl+U to bring up the hue saturation dialog box. Enter in 0 for hue, -70 for saturation and -70 for lightness. That should darken it up just fine.
Step 15:
Finally to fully complete the effect, lets add some lights in the lighthouse to make it look a little more eary. Create a new layer on top of the landscape layer but below the rain layer. Zoom in on the windows and use the Polygonal Lasso tool to make selections around each window. Fill each one with yellow on that and use the Polygonal Lasso tool to make selections around each window. Fill each one with yellow on that new layer. Then run the Filter->Blur->Gaussian blur filter on it with a setting around 0.7 - 1 pixel for the radius.
Step 16:
OK, that almost completes the effect but we have a few things to finish up with. First, if you notice the mountains and lighthouse are still way too bright. They still look as if it were a sunny day. Have no fear though, photoshop can take care of that one easily. Just select the landscape layer and hit Ctrl+U to bring up the hue saturation dialog box. Enter in 0 for hue, -70 for saturation and -70 for lightness. That should darken it up just fine.
No comments:
Post a Comment