Step 1:
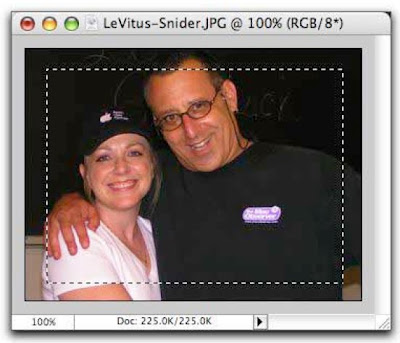
Open the image, crop it to the subject matter, and then press the M key to select the Marquee selection tool.
Step 2:
Draw a selection that comes in about 1/4 in. from the edge of your image on all sides (feel free to experiment with this).
Step 3:
From the Selection menu, choose Feather.
Step 4:
Enter a value of 5 (it's in pixels) and click Okay. The larger the number you enter, the larger the feathering effect will be.
Step 5:
Back in the Layers Palette, make sure the background layer is editable (if it's named "Background" and has a padlock on it, simply double click it to rename it). .
Step 6:
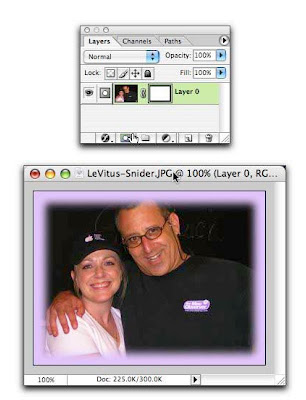
Add a layer mask by clicking the circle within a square icon at the bottom left of the Layers Palette. Poof! Watch the edges disappear. They're still there, though masked. By using a layer mask, you haven't deleted any bits of your image. So if you're not pleased with the results, you can throw away the mask and have another go at it. (I added a purple background layer to make the effect more visible in this example.)
NOTE:
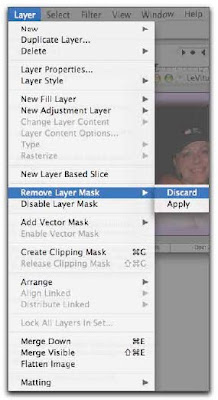
To throw away the mask and begin again, first make sure you're on the layer in which the mask lives in the Layers Palette. From the Layers menu, select Layer Mask > Discard. Presto! The mask is gone and you can have another go at it.
Super funky edges
Another way to create cool edges for your images is by using Filters. We're going to use Brushstrokes > Spatter in this example; but, for a truly fun evening, I advocate experimenting with all Filters... especially the artistic ones! We're also going to use layer masking so that we don't harm the image, and so that our drop shadow ends up as funky as our edges :)
Step 1:
Open the image, and, in the Layers Palette, make sure the background layer is editable (if it's named "Background" and has a padlock on it, simply double click it to rename it).
Step 2:
We're going to add a little more work space by choosing Canvas Size from the Image menu.
Step 3:
Change the pull-down menus to percent and enter 10 for both width and height, and click Okay. This should give us some space around all edges.
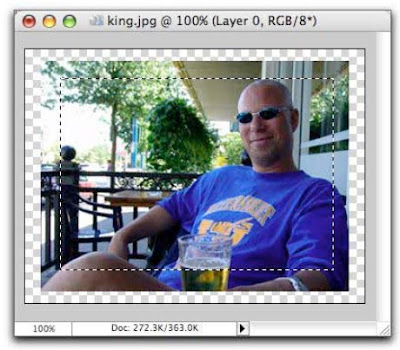
NOTE: If you forget to unlock your "Background" layer in Step 1, you won't be working with a transparent background (gray & white checkered squares), as shown below.
Step 4:
Press the M key to select the Marquee selection tool and draw a selection around the area of the photo that you don't want to mess with (the subject matter).
Step 5:
Add a layer mask by clicking the circle within a square icon at the bottom left of the Layers Palette.
Step 6:
Select just the layer mask, by clicking directly on it in the Layers Palette.
Step 7:
Now from the Filter menu, choose Brush Strokes > Spatter.
Step 8:
Increase the Spray Radius, in the right of the resulting dialogue box, to around 17, and set the Smoothness to 4. Play with these settings until you get what you like in the preview pane and then click Okay. See how the effect was applied to the mask and not the image?
Step 9:
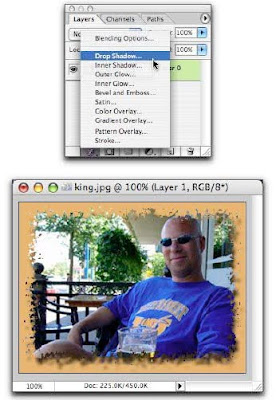
Add a drop shadow for more visual interest by clicking the cursive F at the bottom left of the Layers Palette. (I added an orange-ish background in this one to make the example a bit more dramatic.)
What a nice tips and Trick, Please visite me back at My Beautiful site
ReplyDelete