Step 1:
Before modeling or texturing anything, it is always a good idea to gather as much reference as possible before you begin. For this lesson, I will be creating a cargo container using Photoshop and any 3D software of your choice will work fine for this. The best references are those that you can actually go out and take pictures of. If you cannot find anything you like, the web is the next best place to look. So you can see here, I have a few pictures to help me visualize what I am going to be creating.
Step 2:
Create a new document (Cargo_Container.psd), 1024x512 pixels with a white background. After looking at the reference we gathered, most of the work for the cargo container can be done with the Rectangular Marquee Tool [M] .
Step 3:
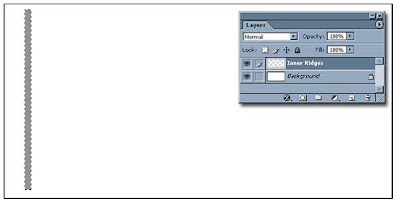
Create a new layer above the background layer and name it Inner Ridges. With the marquee tool selected, draw a rectangle and fill it with 50% neutral gray.
Step 4:
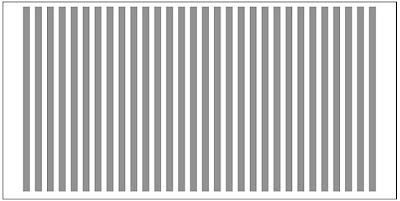
With it still selected, hit Ctrl/Cmd + J to duplicate the image into a new layer. Now hit Ctrl/Cmd + T for the free transform tool and move it to your right (roughly 30 pixels). Now when you used free transform tool, you store that “move” into Photoshop’s memory and all you have to do is make a duplicate layer and hit Ctrl/Cmd + Shift + T and it will remember the previous move. You will do this 30 more times. Just a quick note, it might be a time saver for you to create an action that helps you speed up the process.
Step 5:
At this point you will have a plethora of layers of individual Inner Ridges. Have the first layer selected that you created and link it with all the other layers (except for the Background layer) and in the layers palette, go the pull down tab and select Merge Linked (Ctrl/Cmd + E)
Step 6:
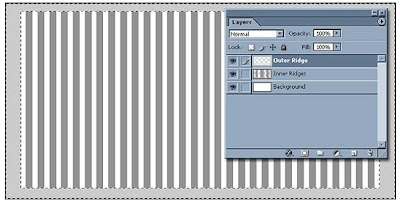
Create a new layer and name it Outer Ridge. Using the marquee tool, create a rectangle covering the majority of the image. When you are done creating your selection, select the inverse of that selection ( Shift + Ctrl/Cmd + I ) and fill that selection with R: 192 G: 192 B: 192.
Step 7:
Select your Background layer and fill it with R: 71 G: 71 B: 71.
Step 8:
Apply these Layer styles to the Inner Ridges layer.
Step 9:
Apply these Layer styles to the Outer Ridge layer.
Step 10:
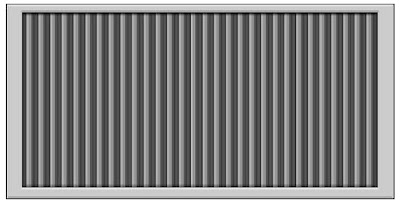
This is how the cargo container should look after applying all the layer styles to the two different layers.
Step 11:
At this point, I want you take a little artistic freedom into your own hands. I want you to add some shadows, highlights, color (a good trick with color, is adding it as a separate layer and change the layer settings to an overlay, multiply or what works best for the look you are trying to achieve) and some grunge. Have fun with it and go crazy if you want too. And you can see here with mine, I just dirtied it up a little bit and added some little touches.
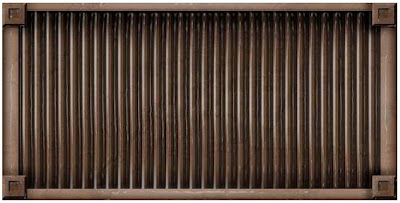
Step 12:
Save a copy of your file out to your personal working folder as a 24bit TGA. Now after this process, you will be ready to bring your 2D image to life. Go to Part 2.
No comments:
Post a Comment