Step 1:
First create a new 500 pixel by 500 pixel canvas. Then create a new layer on top of the background for our sand. Create a selection with the lasso tool or the pen that is similar to mine.
Step 2:
Now make your foreground color R:242 G:240 B:187 and your background color R:203 G:198 B:154. Select the gradient tool and make sure you have the linear gradient type selected. Select the foreground to background option. Drag a gradient out in the direction that I have shown here.
Step 3:
Next, create a layer below the sand. This will be our sky.
Step 4:
Make your foreground color R:176 G:241 B:255 and your background color R:0 G:186 B:255. Select the linear gradient tool again and drag a gradient similar to what I have here. Again, make sure foreground to background is selected as the gradient type.

Step 5:
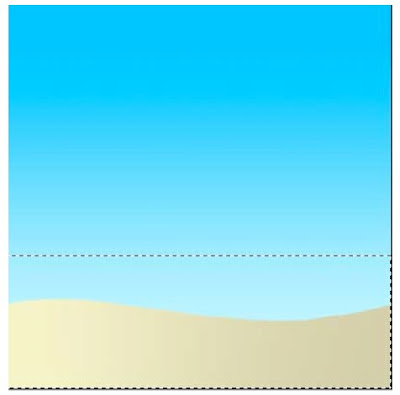
Now create a new layer ABOVE the sky layer but BELOW the sand layer. Create a selection similar to this one. This will be our ocean.
Step 6:
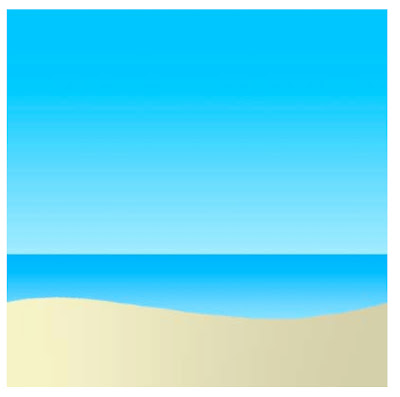
Make your foreground color R:0 G:168 B:255 and your background color R:125 G:221 B:255. Once again, select the linear gradient tool and create another gradient for the water.
Step 7:
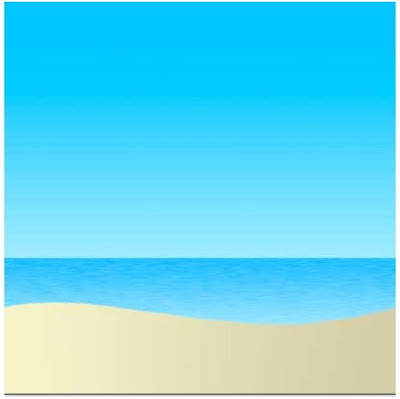
It should be looking good so far and you could probably leave it alone. The water looked a little plane to me so I wanted to add a little realism. Create a new layer on top of the water layer. Ctrl + click on the water layer to get its selection active and fill it on the new layer with black. You shouldn't be able to see the water for now.
Step 8:
Now go to Filter->Noise->Add Noise. Use these settings to add some noise. (Amount: 34%, Gaussian, and Monochromatic checked) Then go to Filter->Blur->Motion Blur. Set the angle at 0 and 18 for the distance. Finally, to finish the highlights set the layer blend mode to screen to take away all of the black and show the white only.
Step 9:
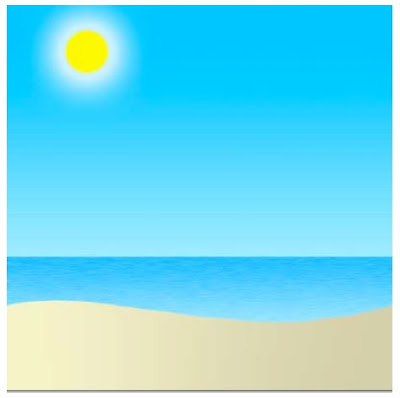
Well, thats almost it. You could create a sun by creating a circular selection and filling it with yellow. Then add a outer glow layer style to it.
Step 10:
Finally, here is an idea of some more things you could do with this effect.

No comments:
Post a Comment