Step 1:
Create a new canvas in 500 x 500 pixel Photoshop. Next, be sure you have your rulers turned on (Ctrl/Cmd + R) and make sure Snapping is turned on as well (View > Snap). Then drag two guides out - one vertically and one horizontally. Notice how they snap into place as you get toward the center of the canvas.
Step 2:
Select the Gradient Tool. Notice the gradient settings area up on the options bar. First, select the Diamond Gradient. Then Click on the small arrow to expand the gradient settings and pick the "Blue, Red, Yellow" gradient.
Step 3:
Now, position the gradient tool in the center of the two guides and drag outward to the edge of the canvas. You should have something like this.
Step 4:
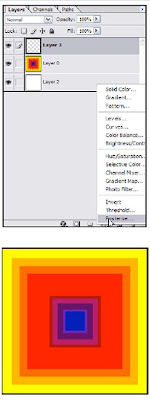
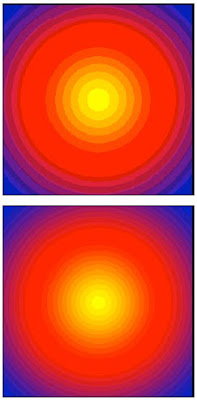
Great, now the fun part. Click the adjustment layer icon at the bottom of the layers palette and select Posterize. This will bring up a small Posterize dialog box. Enter 4 for the Levels setting and click OK. You should have something like the second image below.

Step 5:
Cool huh. No need to stop here though. Go back and double click on the adjustment layer. change the settings to a larger number to produce a different effect. Here I used 9.
Step 6:
Again, no need to stop here. Create a new layer above the others. This time select the Radial Gradient option and drag the same way you did in step 3. You should have something like this.
Step 7:
Repeat step 4 again with various settings to produce some more cool effects. I used 7 and 12 here.

Step 8:
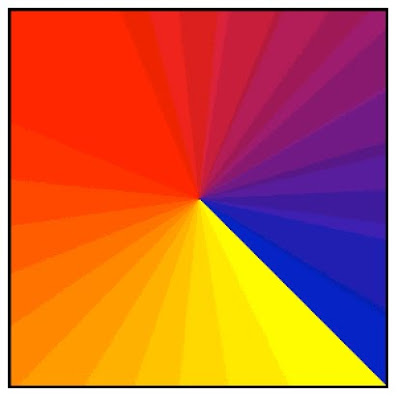
Finally, here is an example where the Angle Gradient was used in the same way.

Step 9:
Just add some retro silhouettes in there and you have a funky colored retro illustration.

No comments:
Post a Comment